
How Do You Apply This Organic Makeup?
We will explore how to apply this organic makeup in this blog post. This video tutorial will cover the base foundation, highlight, contour, blush, and bronzer. We will cover all the steps you need to know to apply this makeup. This makeup will cover blemishes, melasma, and scars. Knowing how to apply this makeup will give you flawless-looking skin. This makeup is easy and quick to apply. It should only take about five minutes to apply once you learn how to use it.
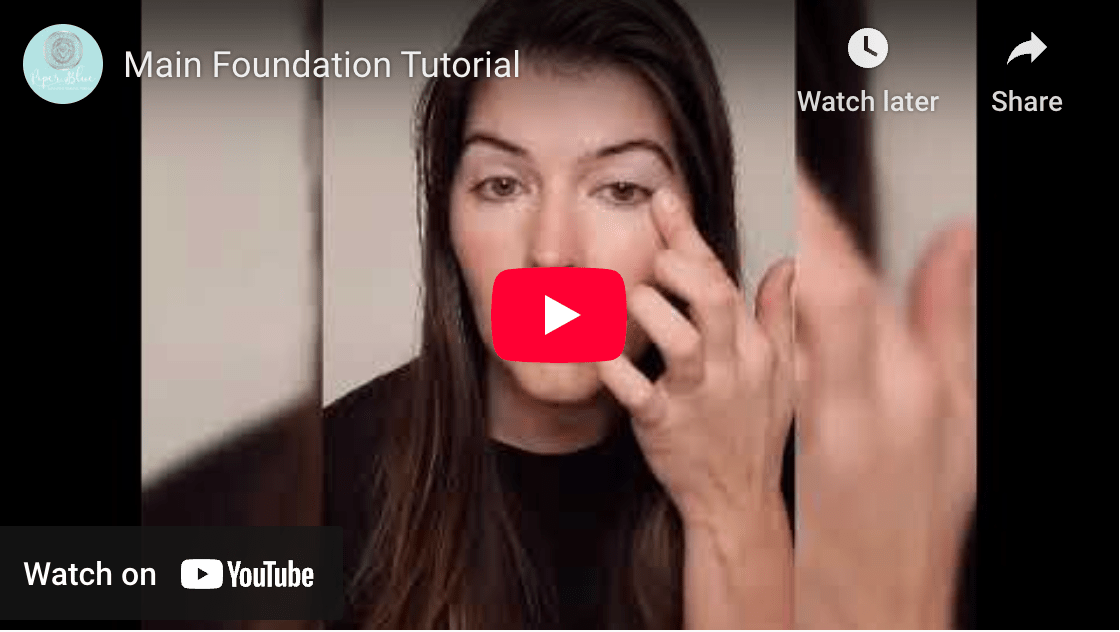
Foundation
There are two different colors of foundation used. The first one is a lighter color and the second is a darker color. The darker color is closer to your natural skin tone and is used as the base foundation. The lighter color is used more for highlighting and brightening. The darker color will be used first. This will mute the colors in your face and even everything out. This specific foundation works wonders for pores and helps to smooth them out. Apply this color to the sides of your nose, around the mouth, and to the forehead. When applying to the forehead make sure to apply in an upside-down triangle shape. Under the eye, you can use a soft u shape or triangle shape. Use a padding motion under the eye and do not use a lot of product. This will be applied to the cheeks as well if you would like to do that. If you have any red coloring in your nose you can apply a tiny bit to your nose.
Highlight
The next color to be applied is the highlight color. This color should be one or two shades lighter than your main color. This will brighten and lighten your face. This will be applied to the eyebrow bones, above the lip, and a little bit on the chin. It will also be applied down the center of your nose.
Contour
The contour color is next. You will apply this right underneath your cheekbones and follow the cheekbone down until it gets squishy. This will be blended out and not come down too far. This will also be applied to the outside of your face where the natural shadow would be. This will sculpt out the natural curvature of your face. This will enhance your natural beauty. This will then be blended in. This can also be applied underneath the lip for advanced contouring. This will pop out the area it is applied to. If you mess up you can easily fix it because it is very forgiving. This will be applied to the jawline as well. This will tuck in anything that might be hanging out under there. This is then blended with small motions or with a brush if you prefer that. This will blend in with the blush as well. This will contour the nose down a little bit. When you turn your face to the side you should not be able to see it at all, it should just look like a shadow.
Blush
The blush will then be applied to the very tip of the apple of the cheek. This will then be slightly blended up. You can then take a little bit of foundation and slightly blend it with the blush. If you have a blemish you can use a soft round tip of anything and tap it on the blemish. This will get a little bit of product on the blemish. You can then stipple the blemish. This can be done in about three minutes once you get the hang of it. This should look like a shadow but when you look at it, it will not look like a blemish.
Bronzer
The bronzer will be applied with a brush. You can use it without a brush but it can be harder to blend. You only need to take the littlest amount of bronzer and apply it to the high points of your face. This is where the sun would naturally kiss. This can be applied without a brush as well. You can use barely any product and apply it up. This product does last a while because a little goes a long way. If you have barely any on your finger you can kind of just spread it. This makeup will hide the pores and make them look a little bit better.
Setting Powder and Setting Spray
The setting powder can be used to give the makeup extra stay power. You will only need a little bit of powder. You can swirl it around the lid so there is not a lot on the brush. This will be applied underneath the eye where you might have some creases. If you have an oily area you can put it over that lightly. The setting spray is incredible and is seriously like skin nutrition. This can be used before the setting spray. This can be blended in wherever you want it the most. This will give you a dewy look. If you do not like that look you can use the setting spray and the powder for the highest longevity and durability. This will be applied barely under the eye where you have a crease. If you do not like the dewy look you can put it wherever.
Final Look
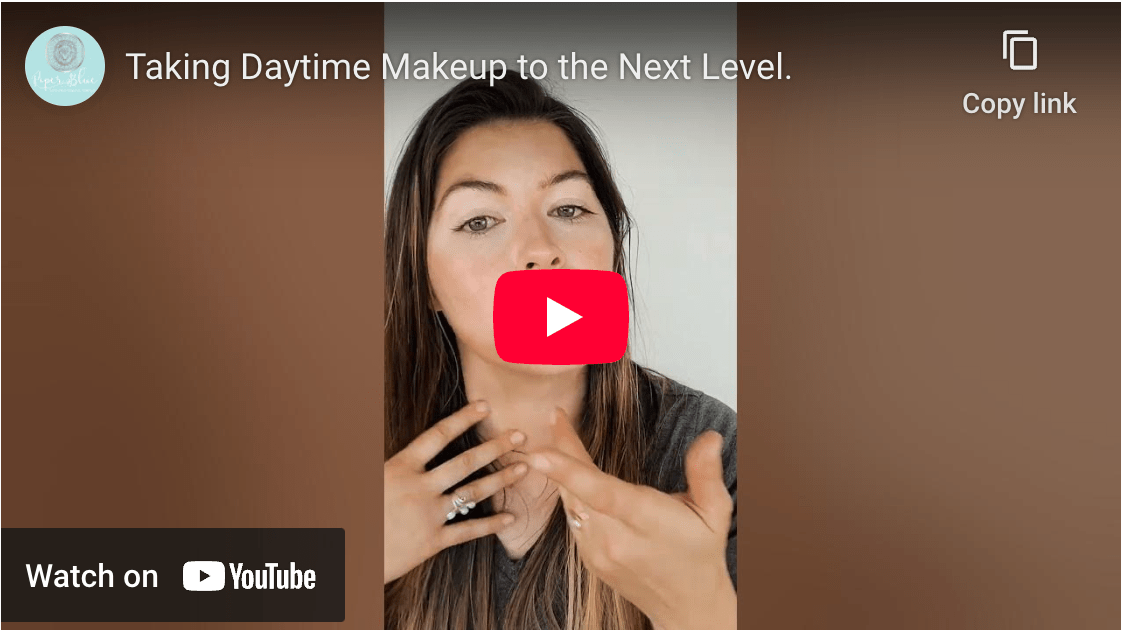
This will give you a final look that looks good from far away and up close. This tutorial covered the base foundation colors, highlight, contour, blush, and bronzer. We hope you liked this tutorial and that it helped you learn how to apply this amazing organic makeup. Make sure to check out the video to see the tutorial in action. You can leave a comment below if you have any questions or comments.
Written by Jamie Jensen
1 comment
can you use a beauty blender or brush with this pallete to blend it in instead
katr
Leave a comment
This site is protected by hCaptcha and the hCaptcha Privacy Policy and Terms of Service apply.